Pane Casareccio
On Saturdays in late fall, at the end of a long day in Stefano’s family’s olive groves, we brought our sacks of olives to the frantoio, where the oil was cold-pressed from the fruit’s pit. With dirt under our fingernails, we toasted slices of rustic bread on the frantoio’s open fire and drizzled the freshly pressed virgin oil on top. The warm toasted bread with fragrant new oil on top was a worthy end to the hard work of harvesting olives.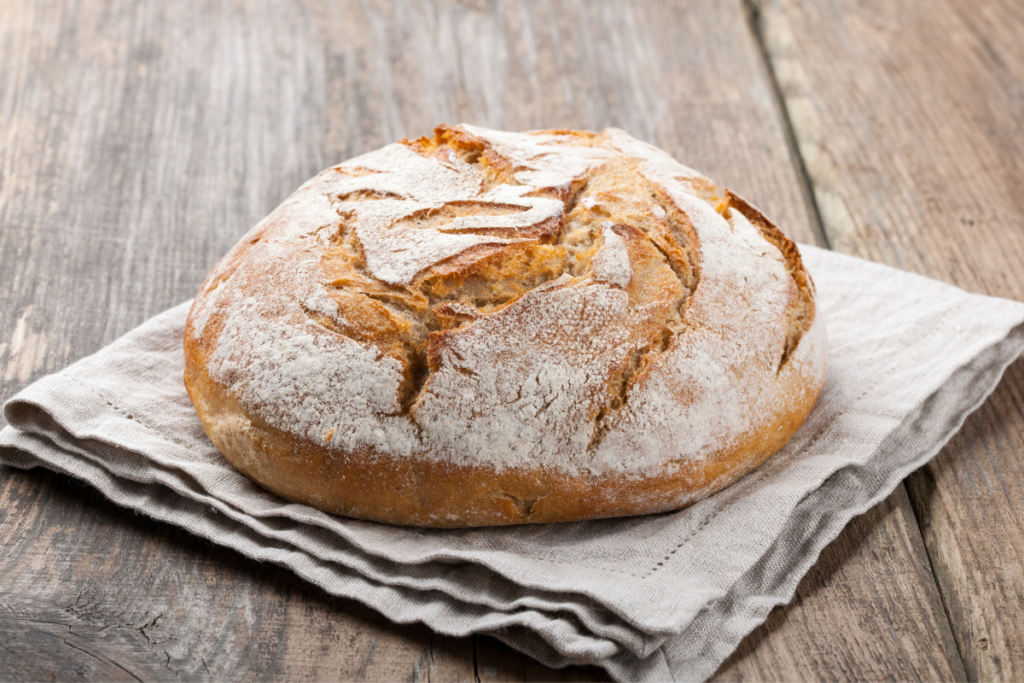
While we love being able to find a nice, crusty pagnotta or a freshly baked ciabatta at our local bakery or supermarket, lately the cost has been burning a hole in our pockets. And is it just us, or have the loaves been getting smaller?
So, we decided to go back to making our own. It took some experimenting with ingredients and methods to get it right. The most difficult part was figuring out how to produce bread with the firm crust we love. We tried the dutch oven method and it wasn’t bad, but it wasn’t perfect, either.
Finally, after a great deal of research and experimentation, we settled on a recipe our friends Massimo and Astrid gave us. It’s is similar to our dutch oven version, but the loaves are baked right on a baking sheet. The flavor is on point and the crust has the firmness and structure we’d been seeking.
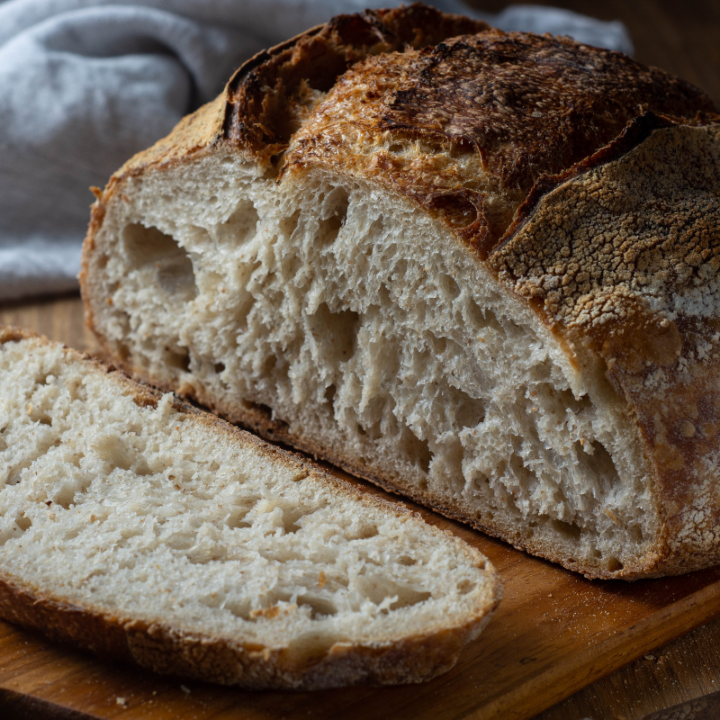
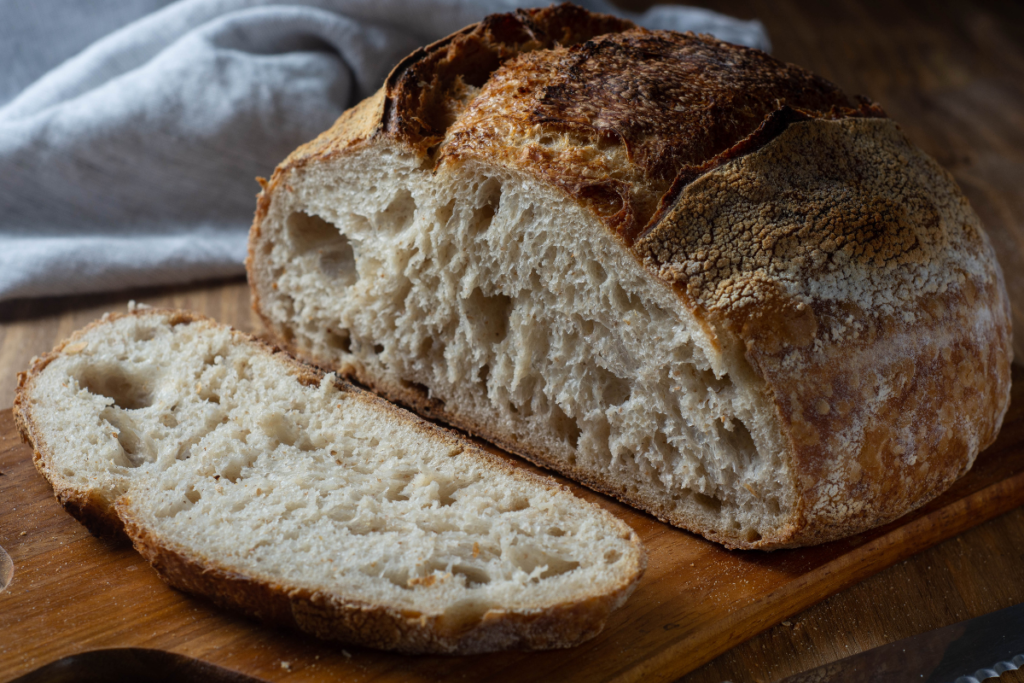
The key to this approach is a no-knead, wet dough baked at very high heat. High humidity coupled with high heat produce bread with a crusty golden-brown exterior and a spongy, chewy interior. We’re not expert bakers – there are entire blogs dedicated to the art of breadmaking – we just appreciate a good loaf of bread and have found a recipe that works. It is so good that even our Italian friends and relatives are impressed.
Pane Casareccio
This no-knead, wet dough baked at very high heat produces a fantastic bread with a crusty golden-brown exterior, and a spongy, chewy interior. It is so good that even our Italian friends and relatives are impressed.
Ingredients
- 1 kg flour, preferably Italian 00 flour, or all-purpose flour.
- 6 grams active dry yeast
- 13 grams sea salt
- 800 grams filtered or bottled water, at room temperature
Instructions
- Prepare and proof the dough
- Pour the water into a small bowl.
- Add the yeast. Stir and let sit for 10 minutes.
- In the meanwhile, add the flour and salt to a large bowl.
- When the yeast is activated, add the water and yeast to the flour.
- With a wooden spoon, stir the flour into the water until just mixed. The dough will be sticky and inconsistent; that is fine.
- Cover the bowl with plastic wrap, creating a tight, air-proof seal. Let sit overnight for 12-18 hours. When you return to your dough the next day, you will see that it has risen and become a light, wet, sticky dough with air bubbles covering its surface.
Shape the loaves and let them rise
- Sprinkle flour onto the surface of a cutting board and place it in a part of the kitchen where the temperature is even – not too close to the oven and away from drafts.
- Remove the plastic wrap from the bowl of dough and using your fingers, pull the dough out of the bowl and onto the mat. Let it rest there for 15 minutes.
- Using the extra flour on the mat to keep the dough from sticking to your hands, lift the dough and carefully work it into a round loaf shape by pulling the ends around and working them together on the underneath side. Move quickly and efficiently so as not to overwork the dough.
- Gently set the loaf back down onto the mat. Cover with a clean dishtowel and let the dough rise for 3-4 more hours.
- Preheat your oven to 500° F.
- When your dough is ready, carefully transfer it to a baking sheet and place it in the oven. Bake at 500° F for 25 minutes, then reduce the oven temperature to 400° F and bake for 30 more minutes. Let cool on a baking rack.
Notes
Baking bread is a two day process. You do not need to knead this dough, but you do need to let it sit overnight. We mix the dough on Saturday afternoon, and bake it on Sunday.
Go to the trouble to find Italian 00 flour. We use Antimo Caputo 00 Chef’s Flour.
Use active, dry yeast. We use Antimo Caputo Lievito Active Dry Yeast.
Weigh your flour, don’t measure it.
Use bottled or filtered water.
Consider making a few loaves at a time. You can slice and freeze the bread, and pull it out as needed throughout the week.

She almost long
I send you soon a picture of mine. If I could to make my bread in Saint Paul it’s for your help. Thank you again
duespaghetti
We’d love to see a picture, Elisa! This recipe has honestly made a huge difference for us. We make about 2 loaves every weekend, and always have some in the freezer. Let us know how it turns out.
PolaM
It really looks good! I heard of the dutch oven method, but I never tried…. It looks like a really good way of making bread! I use a pizza stone, but it just broke, maybe is a sign….
duespaghetti
Yes, I see a dutch oven in your investment future, Pola! It’s the best $30 you’ll ever spend.
Frank Fariello
Fabulous post! I struggle to get home baked bread to turn out right. Just as you say, the crumb turns out too dense, the crust not quite crispy enough. Well, this may just be the solution to my problems. Bookmarked for further reference, thanks a mil!
duespaghetti
Thank you, Frank. We hope you track down a dutch oven and give it a try, and then come back to Due Spaghetti and let us know what you think. If you’re like us, you’ll have friends and family asking for the recipe left and right.
Lisa
Looks fantastic. Major bruschetta craving right now! We haven’t tried this method yet, and I usually let my husband handle all the bread baking, but I am more and more intrigued. Also, why haven’t I made pizza bianca yet?!? Che vergogna 😉
Bobbie Bihel
I just took this out of the oven,it turned out perfectly! Can’t wait for it to cool,I’m making bruschetta for supper ☺️
duespaghetti
So happy to hear that, Bobbie! Buon appetito!